Tags
Daisy Chain Necklace, Daisy Necklaces, DIY Jewelry, DIY Necklaces, Floral Necklaces, Hand Painted Jewelry, Makin's Clay, Makin's Clay Floral Mold, Polymer Clay Jewelry, Summer Jewelry, Suzann Sladcik Wilson, Swarovski Cryatals
By Suzann Sladcik Wilson

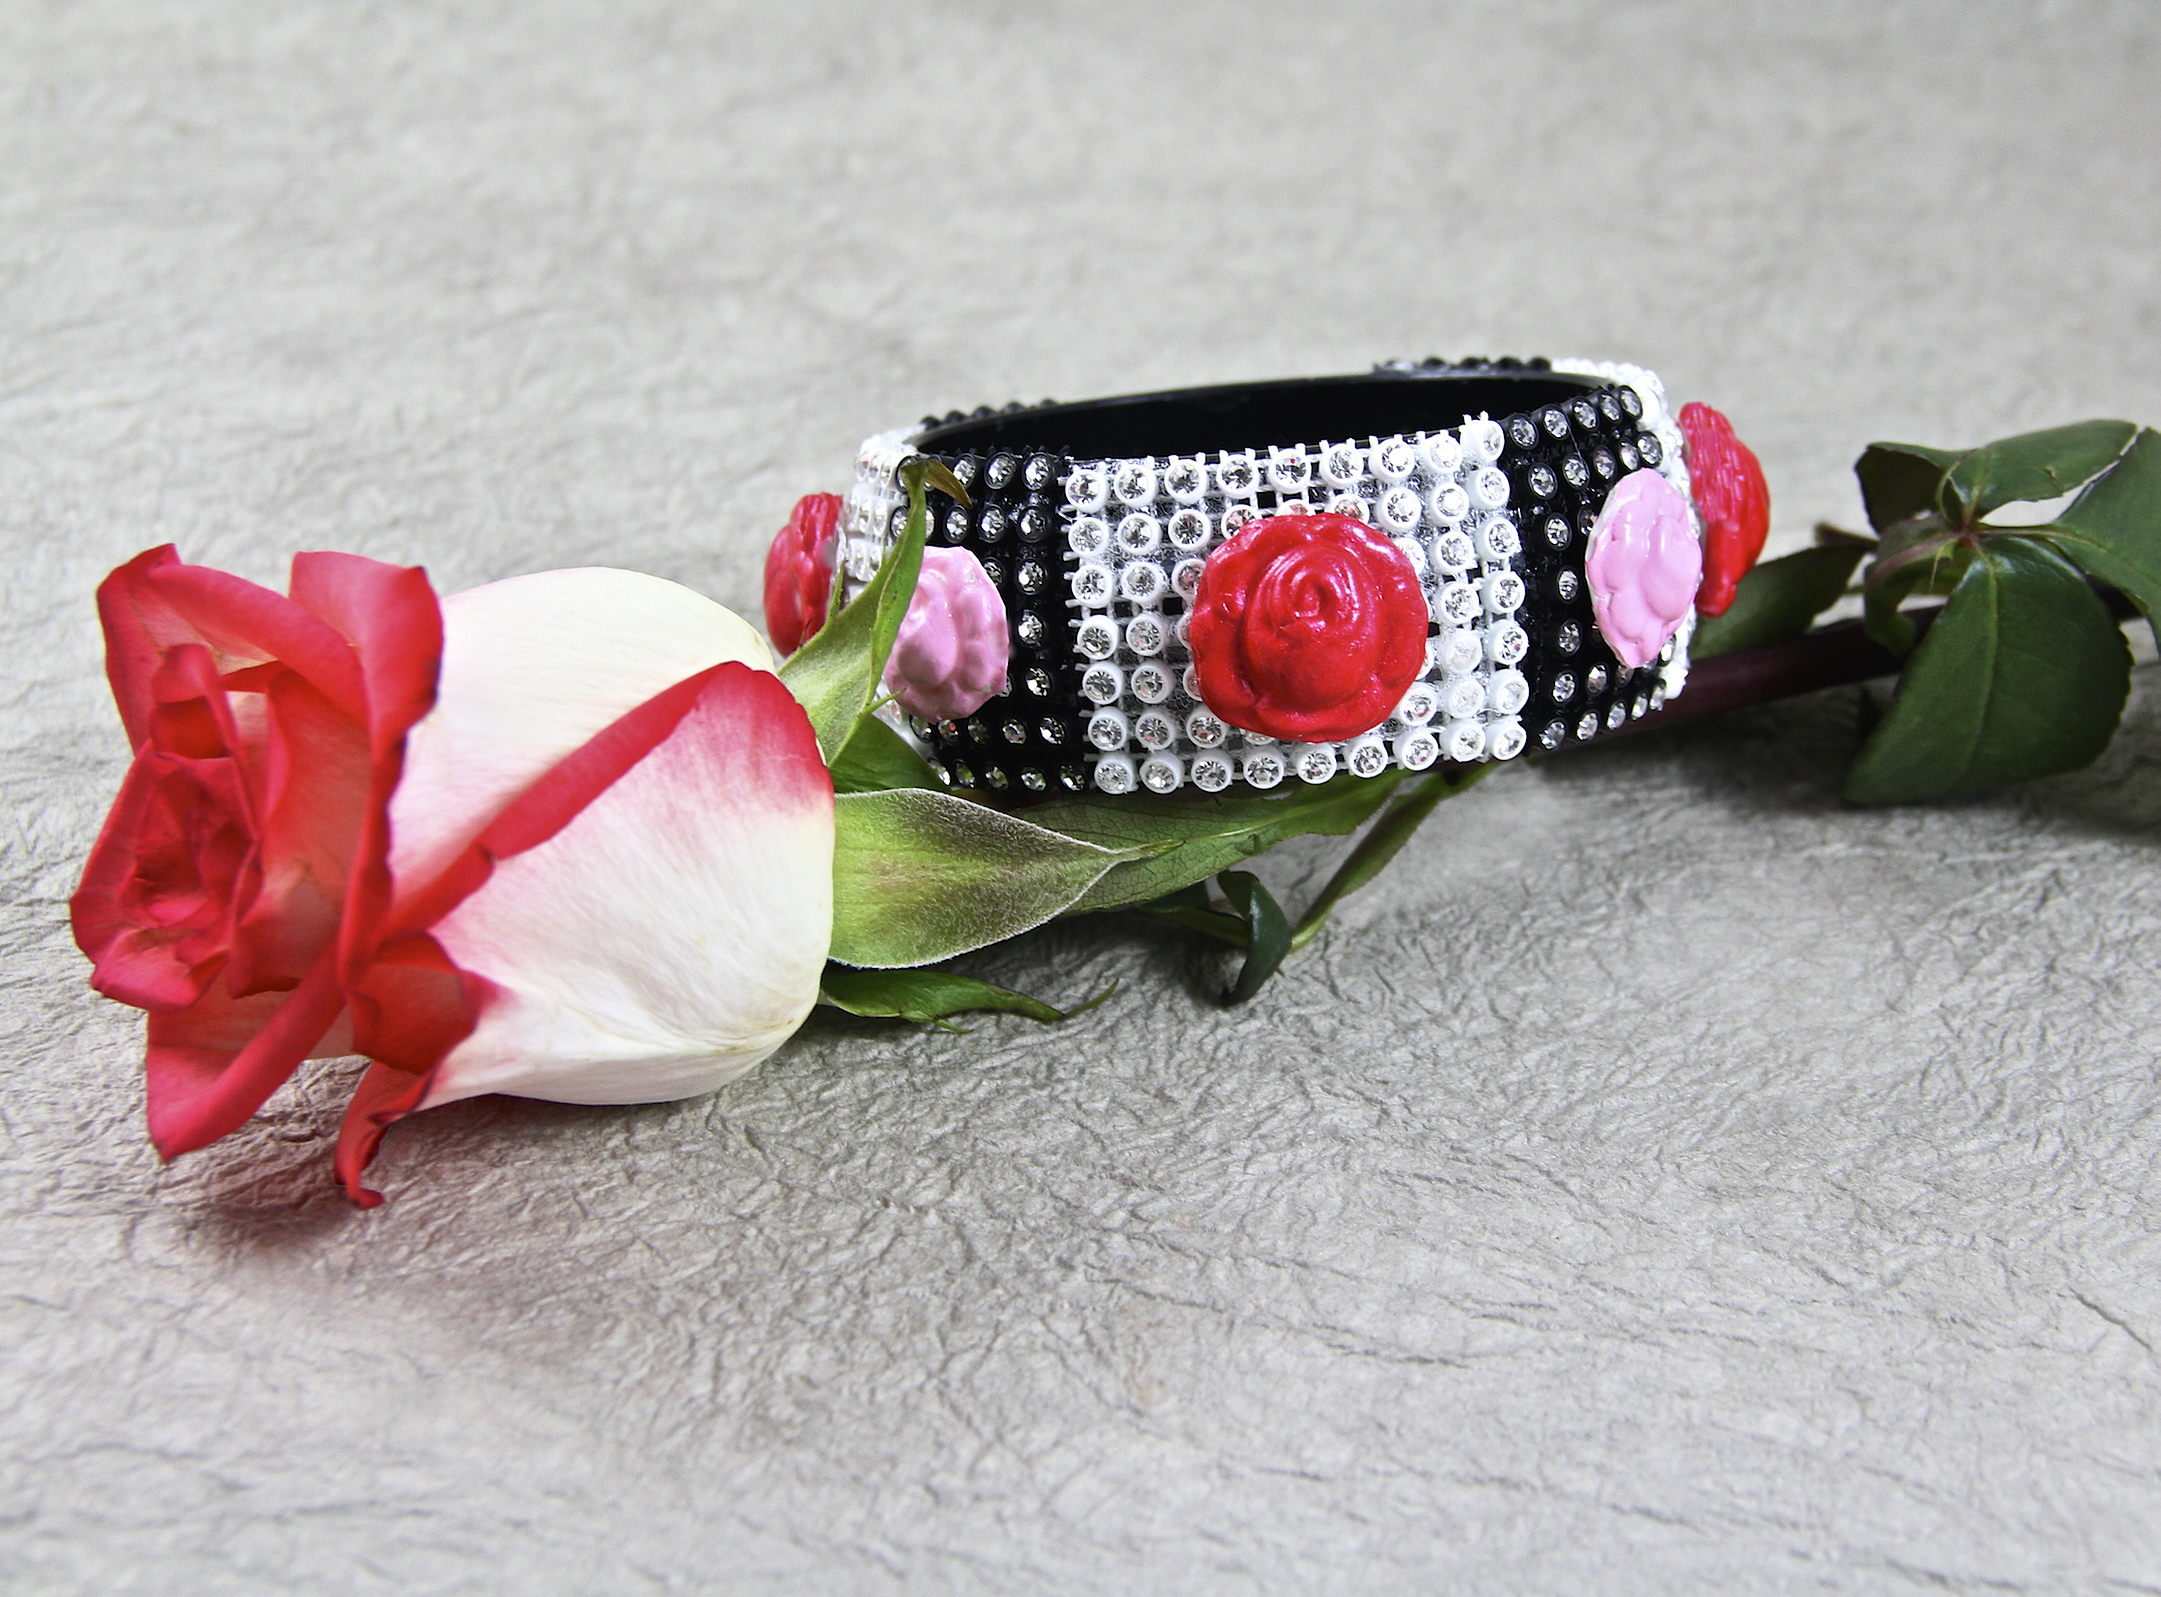
Makin’s Clay Daisy Chain Necklace by Suzann Sladcik Wilson
Welcome, Beadphoria friends! Summer has officially begun, so today I want to share with you a necklace that will be the perfect accent to any summer outfit. The Makin’s Clay Daisy Chain Necklace is easy and fun to make.
The Makin’s Clay is especially effortless to work with. You definitly don’t want something heavy around your neck in the summer heat, and the Makin’s Clay pieces are so light weight, you barley notice you are wearing the piece.
Like many of you, I am all about craft materials that are simple to work with. The push molds worked great every time. I also liked that all I needed to cut the pieces out after molding was a pair of scissors.
Ready to make your own Daisy Chain Necklace? Read the instructions below to find out how!

Materials for Daisy Chain Necklace
Materials and Tools
- Makins’ Clay in White
- Makins’ Clay Floral Push Mold
- Martha Stuart Pearl Paint in Mother of Pearl and Duckling
- Apple Barrel Gloss Paint in Real Green
- 16 – 6mm Bicone Swarovski Crystals in Emerald
- 8 – 6mm Pearls
- 6 – Daisy Black, White, and Yellow Lampwork Glass Beads
- 17 – 16g 1/4″ Inner Diameter Black Jump Rings
- Soft Flex Medium 49 Strand Beading Wire in Black
- Lobster claw clasp in black finish
- 4 – 2x2mm crimp tubes in gunmetal
- Paint Brush
- 2 Chain Nose Pliers
- Crimping Pliers
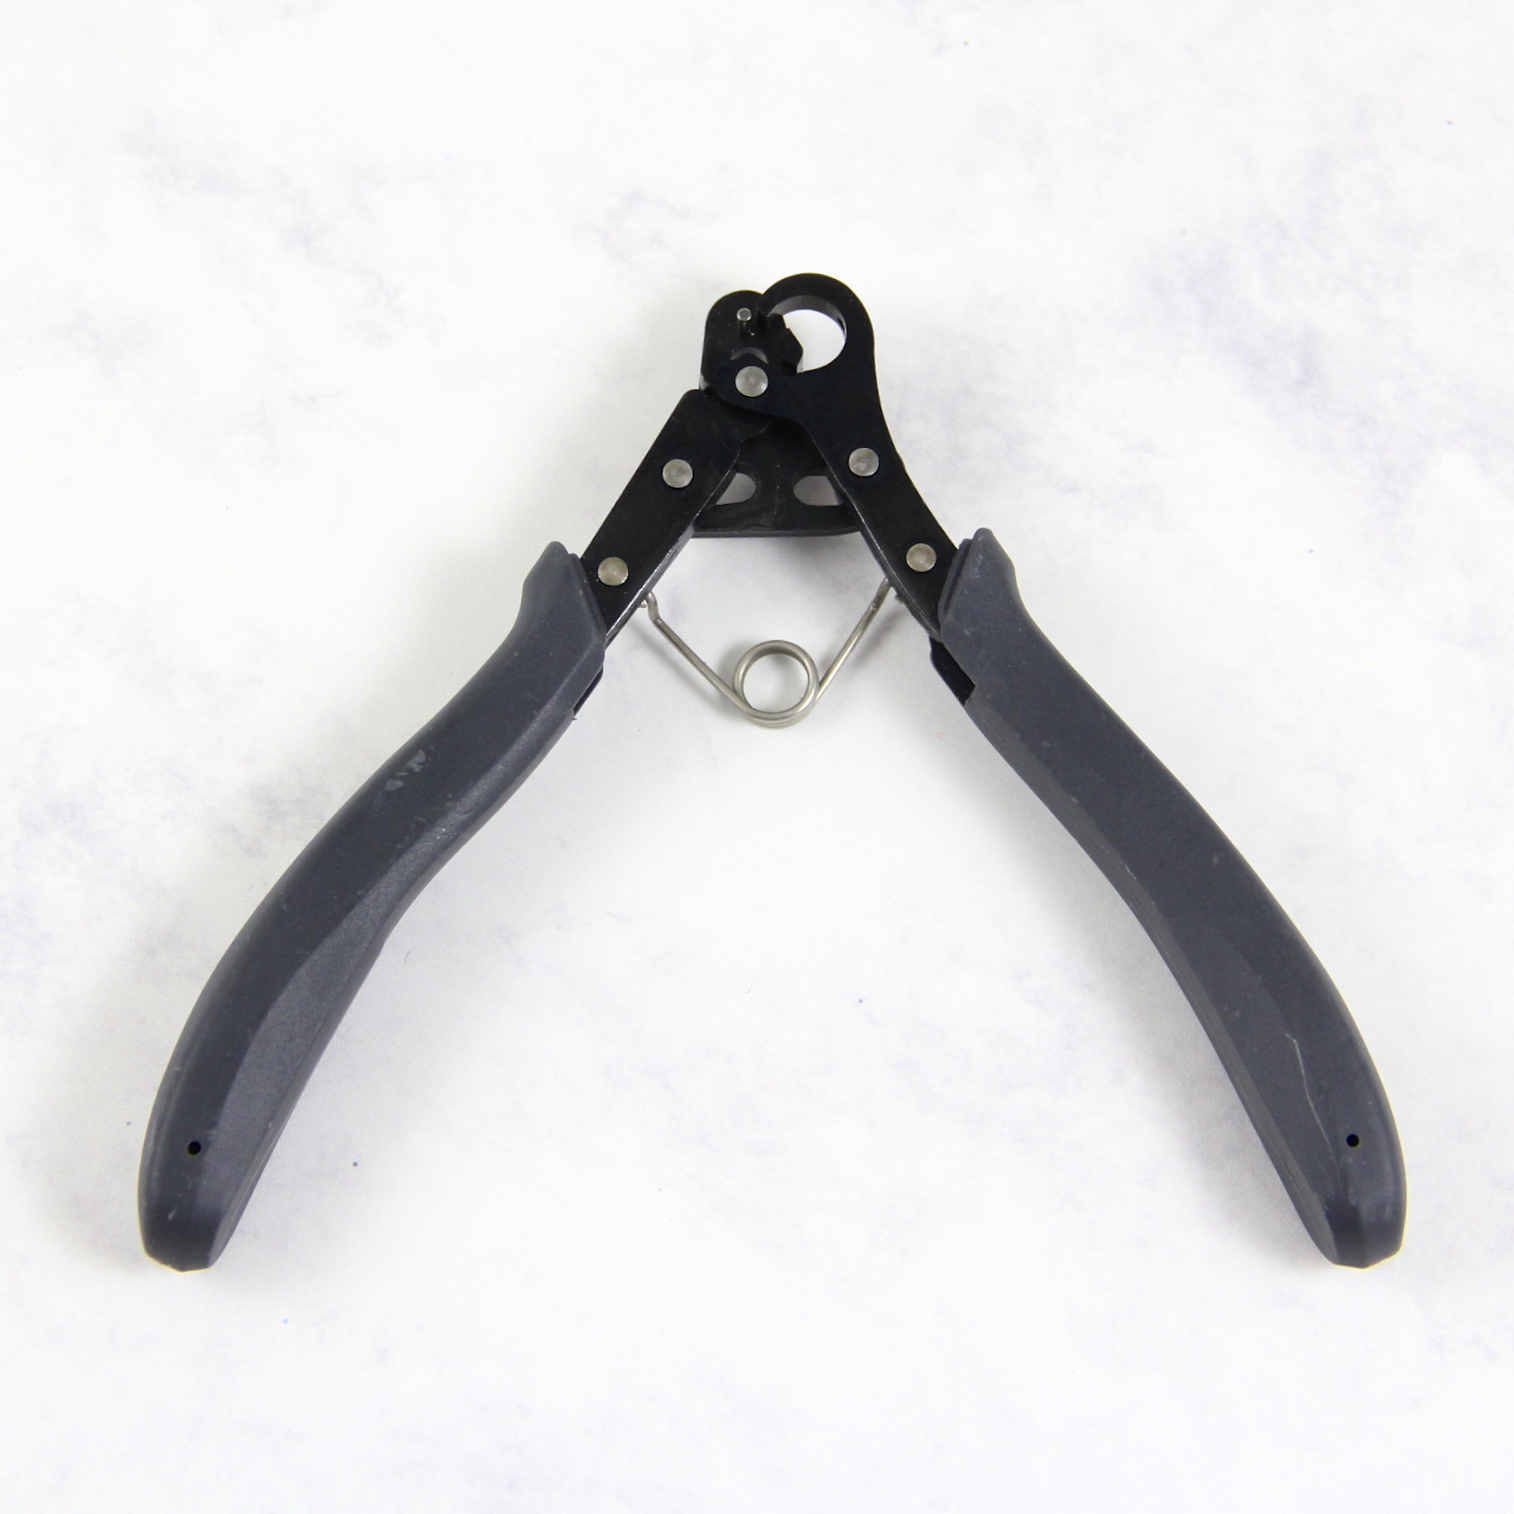
- Hole Punching Pliers in 1.80mm diameter
- Scissors (Not Shown)
- Wire Cutters (Not Shown)
Finished Length: 18 inches

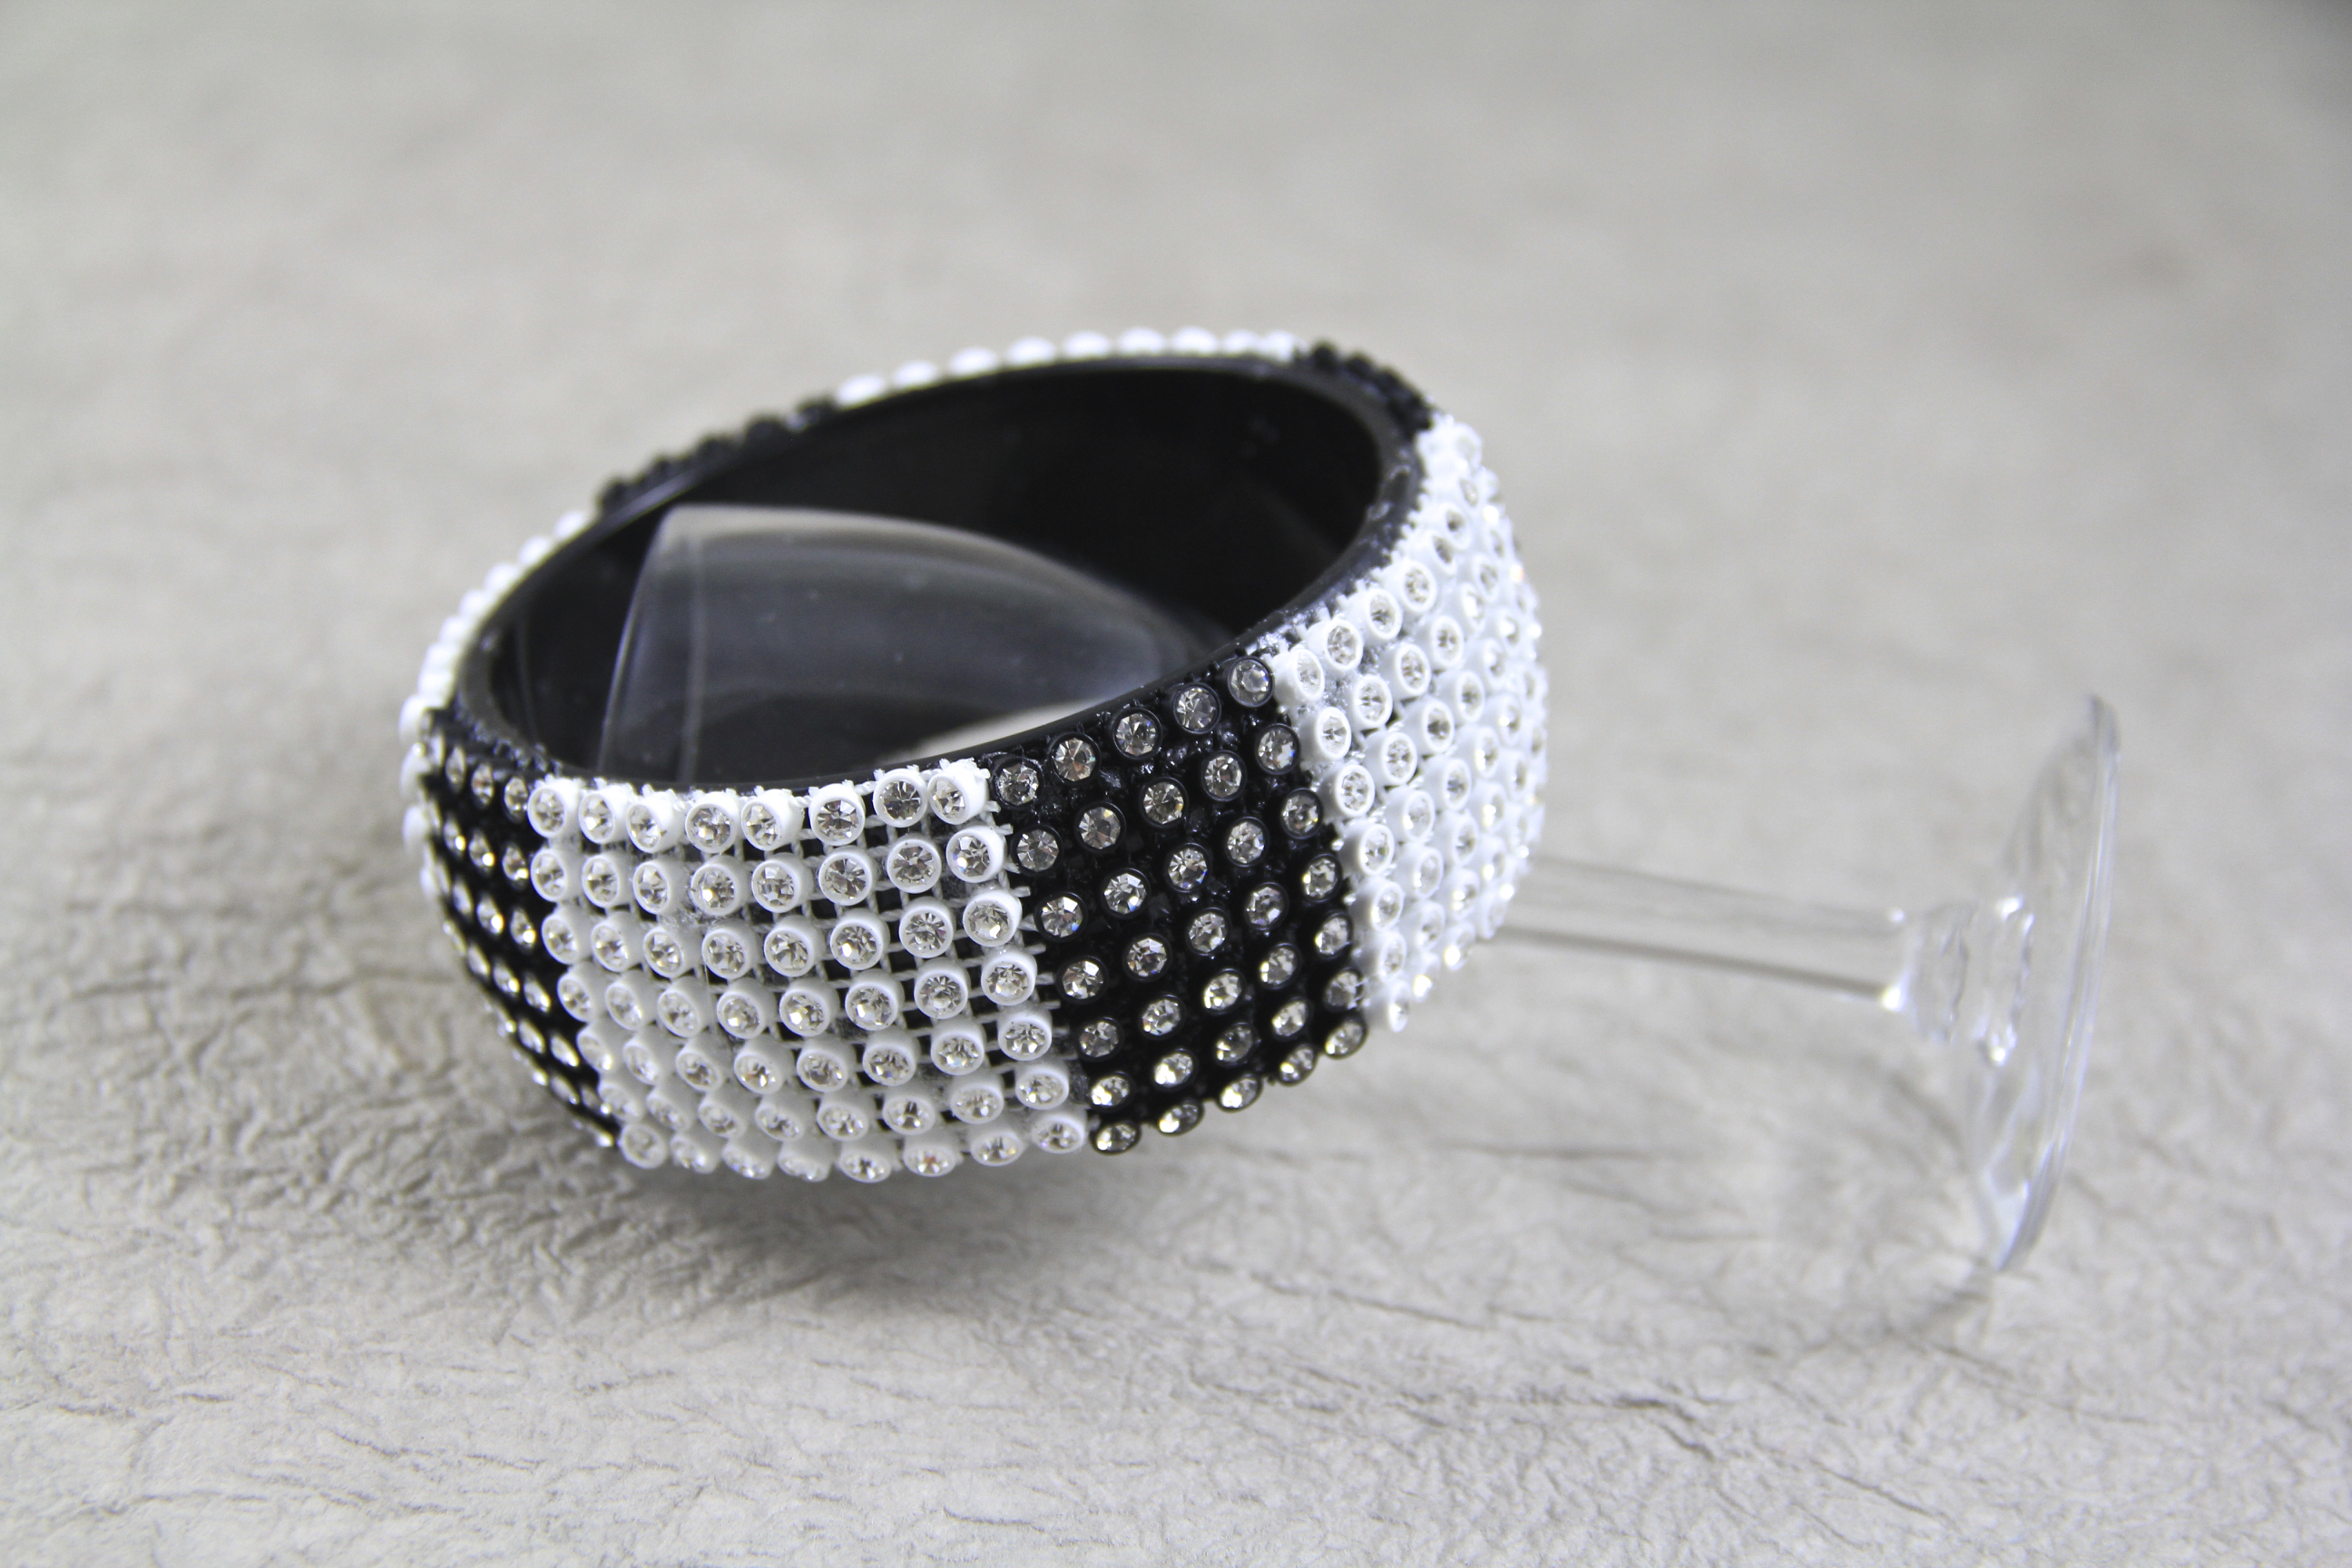
Impression of a daisy using Makin’s Clay Floral Push Mold
1. Make 5 – 1.5 inch balls of clay. Press each one of these into the daisy shape in the Floral Mold. Allow your molds to dry overnight.

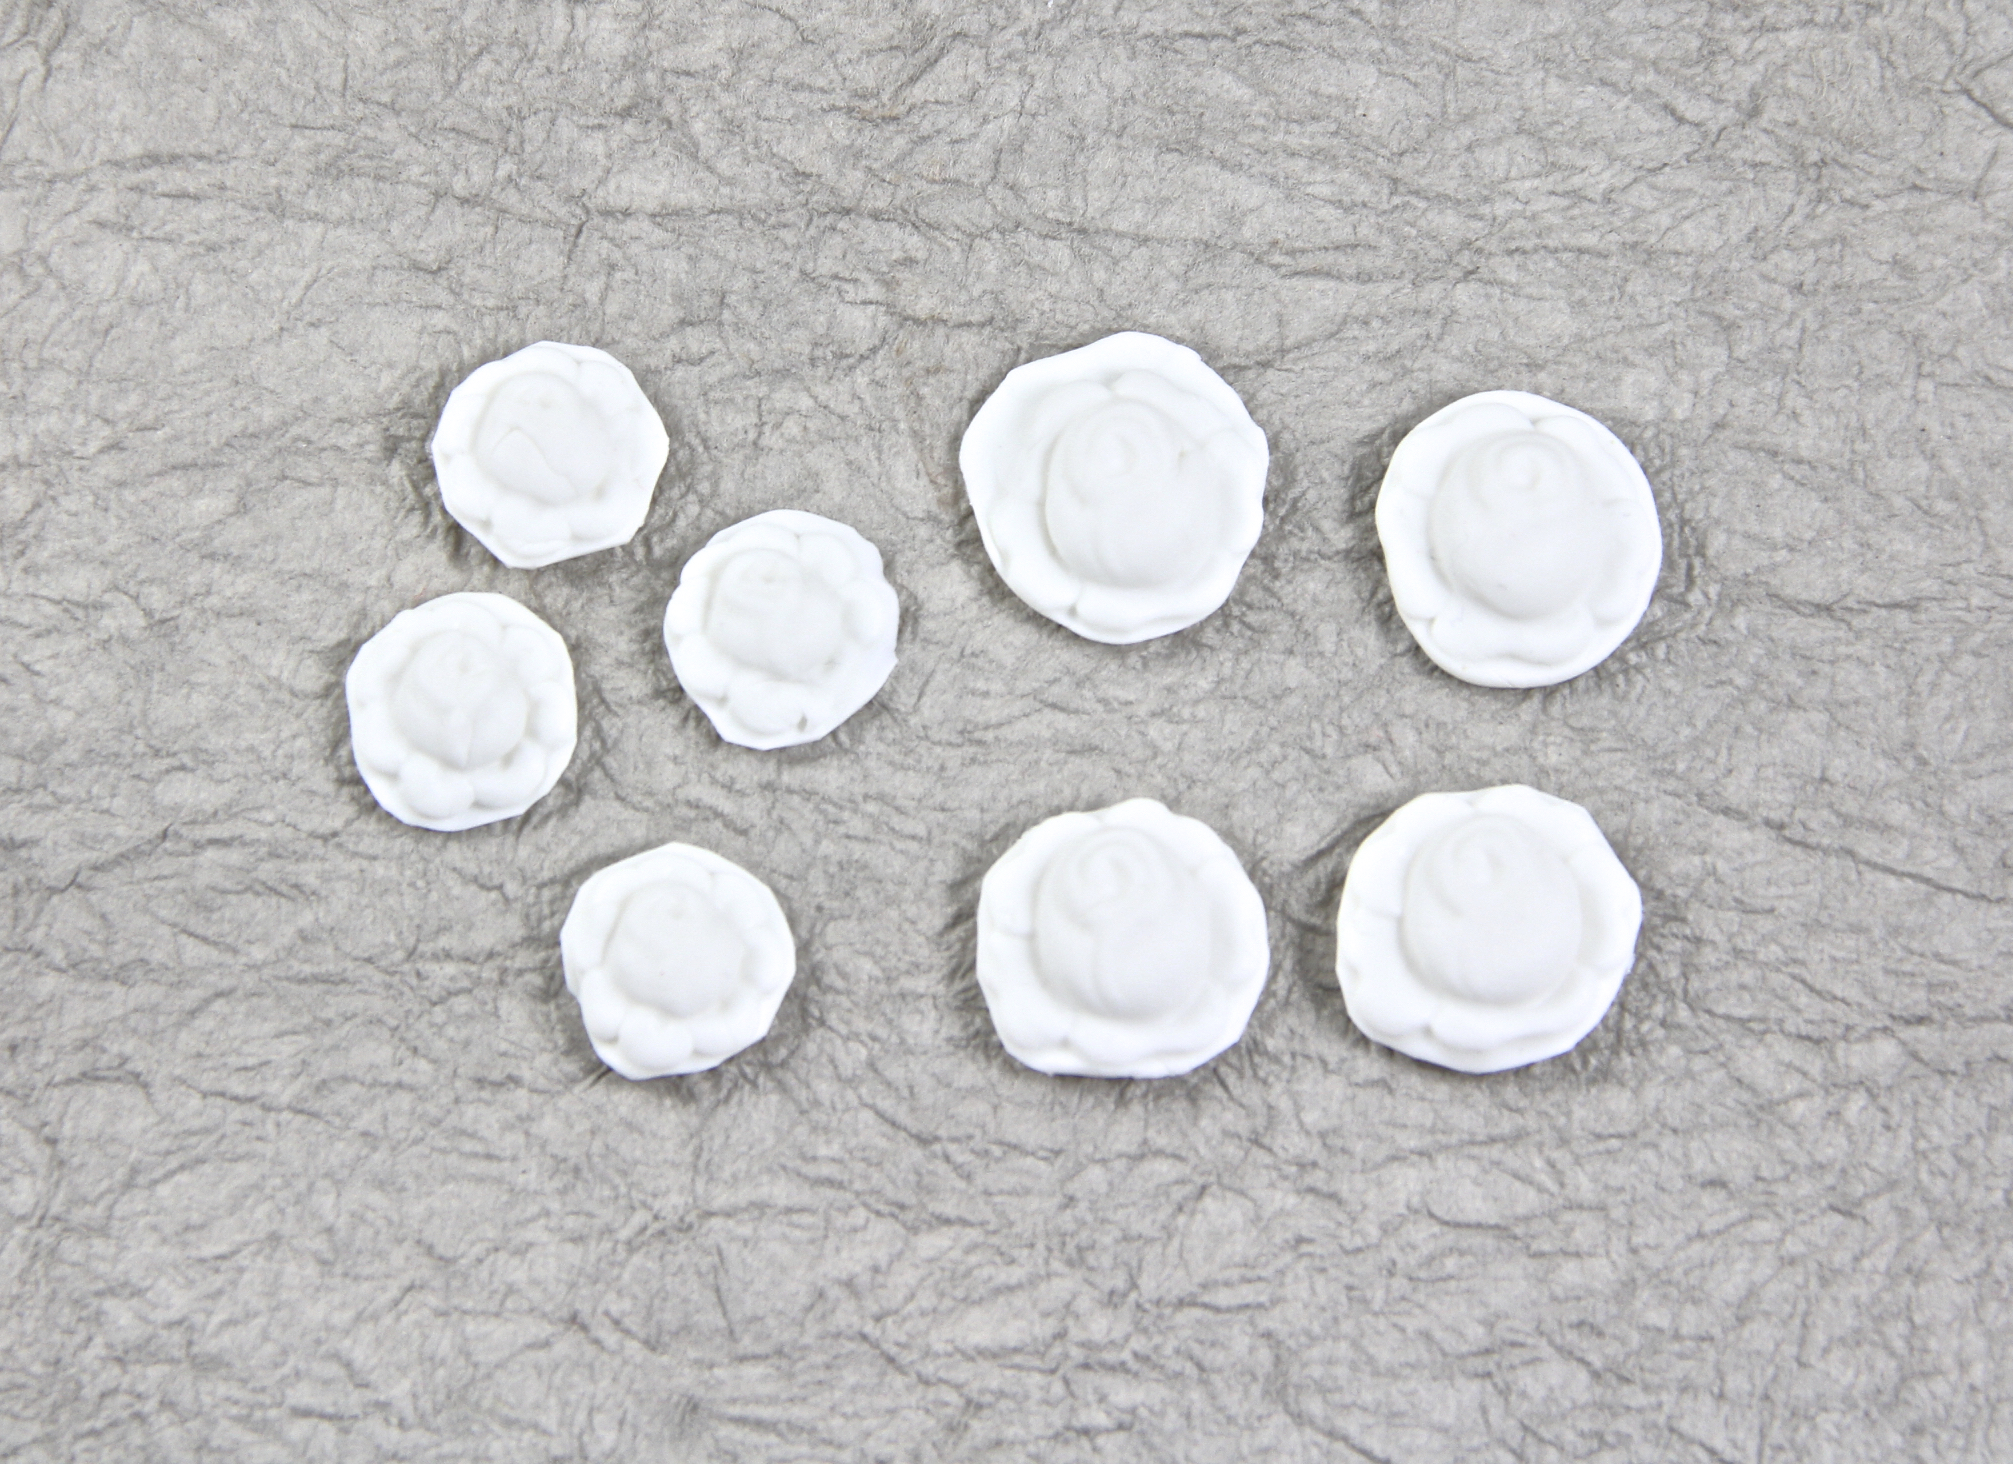
Daisy component made using Makin’s Clay
2. Once the daisies are dry, cut away excess clay using scissors.
3. Paint your daisy using the Ducking color in the center, the Mother of Pearl for the petals, and the Real Green for the leaves.
 4. After your paint has dried, use your hole punch pliers to make holes in the top outer petals on all of your daisy components.

Makin’s Clay Daisy Components Linked Together
5. Insert a jump ring into the hole on each of the petals on all of your daisy components. Link your components by using the additional jump rings. Add jump rings to the ends of your last two components.
Attaching Beading Wire
6. Attach 6 inches of beading wire to each side of your linked daisies using 2 of your gunmetal crimps. Tip: If you don’t have gunmetal crimps, use silver crimps and use a black paint pen to cover them. You can also do this if you are unable to find a black clasp.

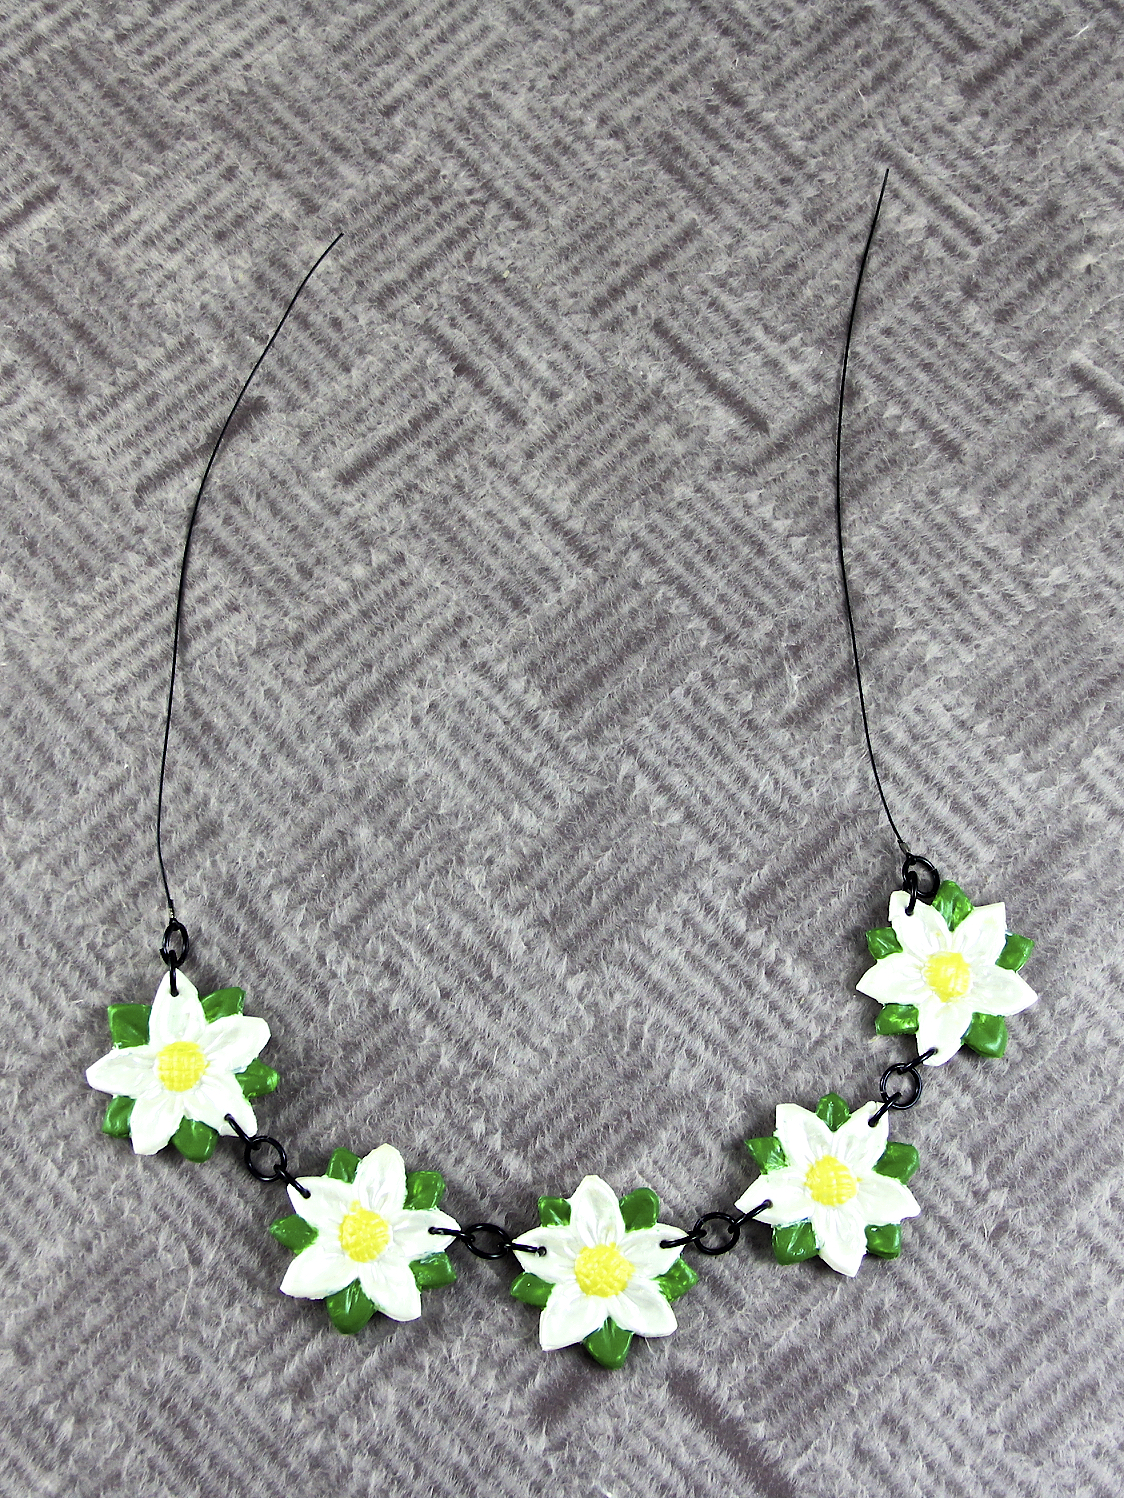
Finished Daisy Chain Necklace
7. String on one Emerald Swarovski Crystal, one pearl, one Emerald Swarovski Crystal, one daisy lampwork bead. Continue pattern until you finish with one pearl and one Emerald Swarovski Crystal. Attach one half of your clasp. Repeat pattern on other side to finish your necklace.